After investigating several options for an autopilot, I decided on the Raymarine ST4000. Mounting the autopilot was not very difficult.
However, I chose to mount it somewhat different from the instructions.
After reviewing how other Mac26 owners did theirs, I took what I felt where the best suggestions and applied them to my own installation.
The ST4000 comes with a bracket that is typically mounted to the pedestal.
This bracket holds the drive ring and keeps it from rotating while the wheel is driven by the motor.
However, you can also hold the motor to keep the ring from rotating. In my installation, the bracket is not used.
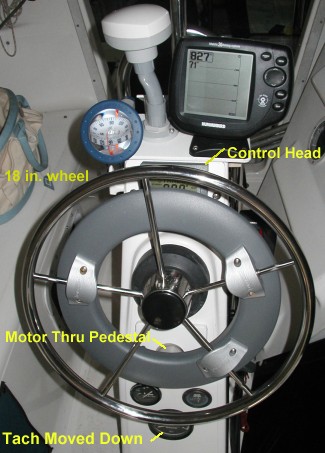
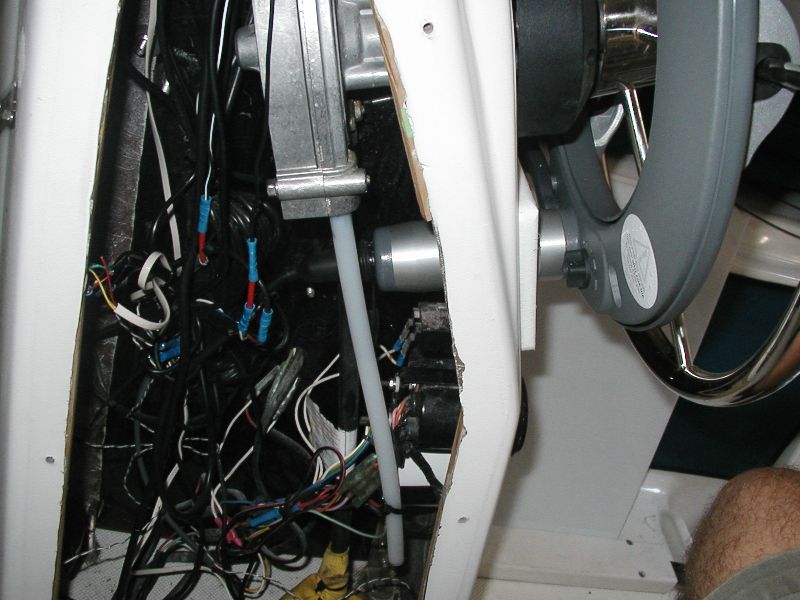
The motor is mounted through a hole in the pedestal. The motor is held in this hole to keep the ring from rotating.
This provides several advantages in the installation. 1, the pedestal bracket is not needed and will not be in the way.
2, the motor is not sticking out at the side of the wheel, it is completely out of the way behind the wheel.
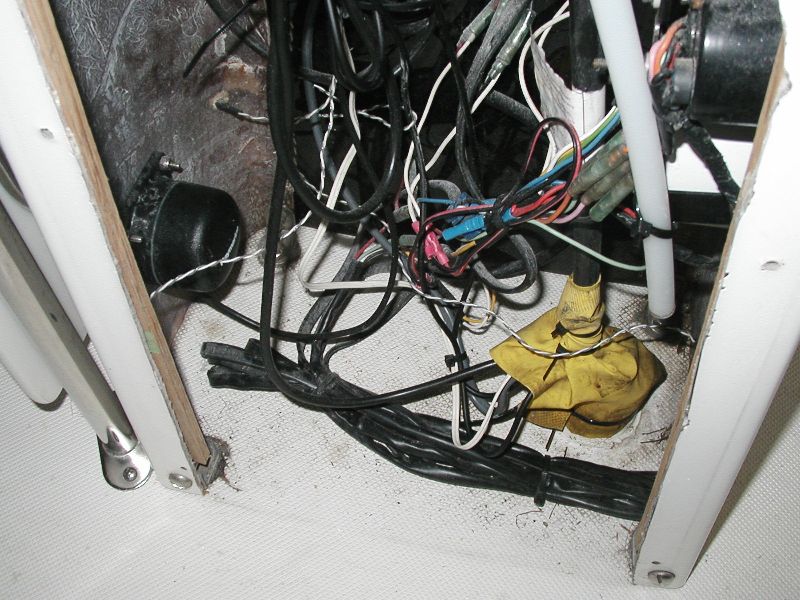
3, the motor wiring is completely inside the pedestal. In fact, all wiring for my installation is inside the pedestal.
I mounted the flux gate compass on the lower, forward, inside of the pedestal.
I mounted the control head at the top of the pedestal behind the wheel.
To accommodate the mounting of the motor, I had to move the tach to a position lower in the pedestal.
The hole left by the original tach location was too large, so I took a piece of starboard, cut it to size and cut a hole in it for the motor.
I then mounted this piece of plastic to the pedestal.
When I first mounted the autopilot, I had the 15" stock wheel. The finger room between the autopilot ring and the wheel was a little tight.
I had planned to get a larger wheel anyway. I now have the 18" wheel.